When you’re working on a new ad campaign, creating marketing assets or laying out printed documents, managing a team can be a headache. It takes a lot to manage multiple versions and juggle different team members’ contributions. Using a tool that allows collaborative design can make the whole process much more straightforward — so you can spend more time creating and less time coordinating.
But how should you get started?
Let's Dive in
The Concept of Collaborative Design
How Design Collaboration Works
The Benefits of Design Collaboration
The Concept of Collaborative Design
Before design was done on computers, you might have had a whole design team huddled around a table working together to make advertisements or layouts (think Mad Men). But these days, a design project generally includes many different designers each working on their own parts of the project, often in remote locations.
Collaborative design is a system that ensures everyone involved in a project stays in sync. You’ll save yourself lots of headaches by having a collaborative design process set up, especially on projects where:
- You need creative work from multiple internal teams, such as animation, copywriting, and design teams
- Your client wants to give input on the designs and be involved in the process
- You’re working alongside another agency (such as an external animation team) to produce the client’s deliverables
- Your teams are geographically separate or work asynchronously
- You’re working on a large, complex project such as brand identity or a website redesign
A good collaborative design process ensures that every different design ops team with a stake in the creative process, from the designers to the project manager to the developers, has a framework for offering feedback and ideas. It cuts back on delays, disagreements, and rework, too. Read on to see how it works.
How Design Collaboration Works
So, how do you create that awesome design process that gives everyone a chance to contribute, letting you stay organized from start to finish without delays or hiccups?
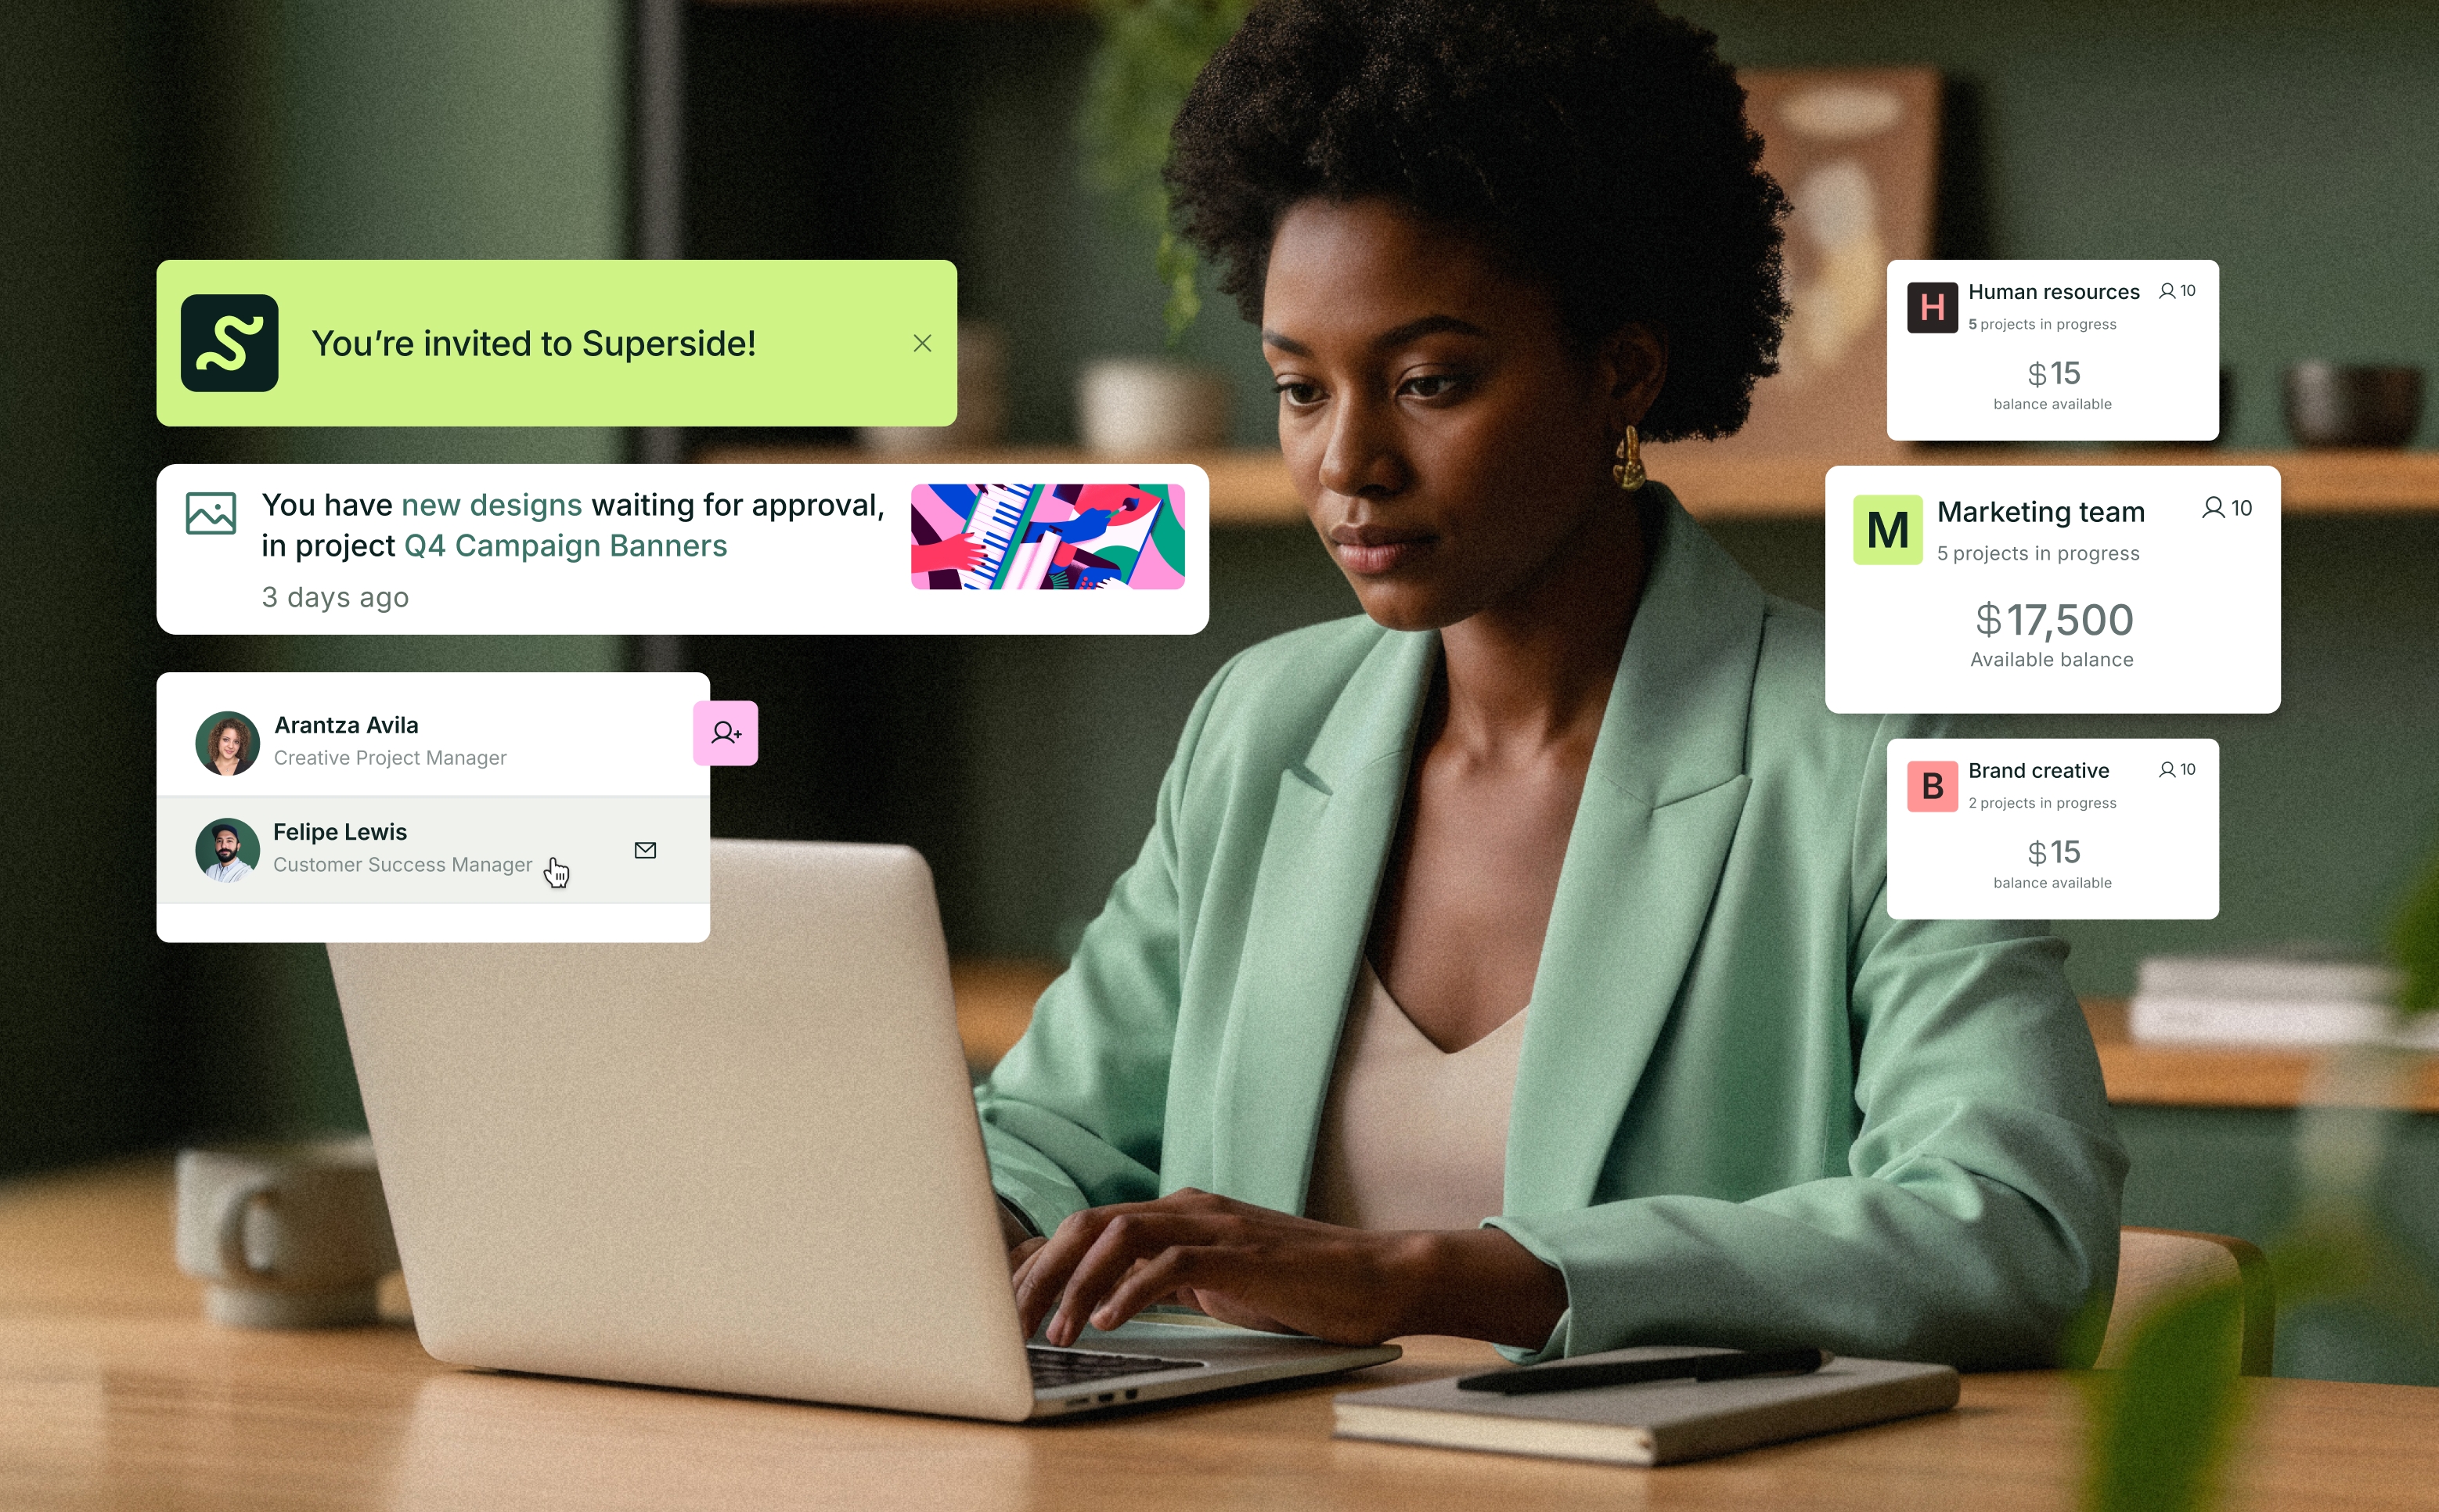
First off, it helps to use a design service that’s collaboration-friendly — like Superside. Many other services aren’t built for working together, so it’s hard to really get the project flowing smoothly from start to finish. Superside, on the other hand, lets you embrace collaboration across different teams, whether it’s your design and animation teams or your team and your client’s team.
Below, we’ll dive in to the steps you should follow to run a successful design collaboration.
Step 1: Get the Big Picture
Before you put pencil to paper, you’ll need to figure out what your goals, requirements, and parameters are. During this stage, you’ll want to:
- Build out a brief with help from your end client to capture their preferences and brand identity.
- Set a schedule and define milestones.
- Do some competitive research.
- Choose a design platform where your team can collaborate.
- Ask team members for input on feasibility — see which teams are available to help with the project and take note of any limitations.
- Define everyone’s design ops roles and expectations, including designating who has the final say on any design decisions.
- Decide how you want to receive feedback and encourage constructive feedback (for example, saying “I think this would fit our brand identity better if it were blue instead of red” instead of “I don’t like red”). Logging feedback in a shared spreadsheet in Google Docs or SharePoint is a better way to keep feedback organized than, for example, sending out PDFs for different stakeholders to mark up. For a more visual approach, try a virtual whiteboard app like MURAL.
Keep an up-to-date schedule in a spreadsheet, calendar, or Gantt chart to help everyone stay on the same page.
Step 2: Start Brainstorming
Once you have a brief, a team and a platform, you’re ready to start thinking about how you’ll achieve your goals. Here’s how:
- Bring the team together in person or in an online brainstorming session to get ideas about the project.
- Designate someone to take notes, and send out a summary afterwards so stakeholders can review the ideas.
- Create an open and inclusive space for creative thinking by ensuring everyone gets a chance to pitch ideas. If you have a big team, you may ask team members to submit their ideas in advance or prepare a quick presentation to keep things organized.
Step 3: Choose a Concept
Now that you’ve brainstormed lots of great ideas, you can start to narrow them down. Follow these steps to hone your plan:
- Get everyone’s input on which ideas were the best. If you have a large team, send out a poll asking everyone to rank their top 2-3 concepts.
- Gather any comments about the overall direction of the designs and log them according to the feedback process you defined in Step 1.
- Make a decision. If there’s no clear consensus, defer to the decisionmaker you designated in Step 1 to choose the design.
- Check in with the teams who will need to work on the design. For example, if you choose to create an animated short film, you’ll need to make sure the animation team, design team, and copywriters are all on board and can meet the proposed deadline.
Step 4: Bring Your Idea to Life
Once you’ve chosen the big idea for your project, it’s time to get creative. You’ll need to adjust this step based on the complexity of your project. For example, if you’re creating a new logo for a client, you might only need a few mock-ups, while making an animated landing page could involve several storyboard iterations and sketches.
- Decide how many different versions of the design you plan to create. Try out different color palettes, fonts, and styles, staying within the brief you made in Step 1.
- Create your sketches, mock-ups, or storyboards. Check with different teams to make sure your ideas are feasible. For example, can did you leave enough space for the copywriters to put their text? Can the motion designer bring your sketch to life? Is it all doable within the deadline?
Step 5: Gather Input
Once your mock-ups are ready, it’s time for another round of feedback.
- Revisit your brief (Step 1) and meeting notes (Step 2). Does your design fit the brief? Does it meet your objectives? Are earlier pieces of feedback taken into account?
- Bring all the stakeholders together again, as you did in Step 2, to look over the mock-ups or storyboards.
- Give different teams time to provide their feedback, using the feedback process you set up in Step 1. In addition to asking for input during the meeting, itself send a follow-up email to gather any other thoughts that might have come up later. You can also use SaaS feedback tools such as Featurebase to make things easier for everyone involved.
- If you created multiple mock-ups — for example, the same logo in several different fonts — choose which will be used for the final design. Defer to your decision maker if necessary.
Step 6: Implement Changes and Finalize
Incorporate the input you received in Step 5, and tweak or complete the design as necessary.
- When your design team is finished, perform quality assurance. For example, validate an animated landing page to make sure all the links and features work on different devices, or proofread the copy on your posters.
- Double-check your almost-final product against the brief, as well as any feedback you’ve received along the way.
- Finalize the design and deliver it to the client.
Step 7: Get the Client’s Input
Just because you’ve delivered a project doesn’t mean the time for collaboration has ended.
- Give your client a chance to comment on the final design. Just like when you were gathering feedback on the draft design, have a process in place to streamline client review.
- Create a feedback log for reviewers or a shared copy of the design that they can mark up, using a service like Markup.io. Be sure you know who on the client’s team has the final say in case you receive conflicting feedback.
- Implement any necessary changes and finalize the design.
8. Recap the Project With Your Team
Once the project is finalized and delivered, there’s still some work left to do!
- Even the best design ops professionals run into roadblocks here and there. A project wrap-up is a great way to get general feedback from your team about how the process went.
- Encouraging all your team members to share their honest opinion about the project can help you work even more efficiently next time. Be sure to take note of any delays you experienced or any times that the process broke down.
The Benefits of Design Collaboration
If you’re not already sold on taking a collaborative design approach to your next design project, here are the main benefits you can look forward to when you design collaboratively:
· Fewer emails, calls, meetings, and messages: By using the collaborative tools we mentioned above — like Google Docs, Sharepoint, or MarkUp, you’ll get everyone’s feedback in one place Instead of having to keep track of endless emails with each stakeholder’s opinion on the design.
· Less rework: If your team doesn’t communicate well, you might find yourself having to rework some elements of a design to incorporate edits. This can cost you lots of time — and money! If there’s something about your design that could be better, you want to know about it as soon as possible so you can get it sorted out.
· More creative designs: When you get more people involved in your project, you have more brainpower overall. That can lead to innovative and creative ideas you might not have heard otherwise. You’ll also hear ideas and impressions from many different perspectives on your team and the client’s team, giving you an early sounding board for how your design will be received when it’s released to the public.
· A more engaged and confident team: According to Zippia, collaboration improves product quality by 34% — being open to feedback and ideas makes everyone more engaged and helps draw out their best work. Getting constructive feedback (like we explained in Step 1) can also make your team more confident in their abilities — helping your design ops team produce even better designs down the road!
Ready to get started on your next collaborative design? See how Superside’s design services can help your organization.


